
I forget what it feels like to ride in the rain. The sting of rain drops. The smell of wet asphalt. The feeling of hypothermia. Oh the thrill.
37.5646° N, 122.5140° W | GRAY WHALE COVE
Trip Itinerary :
a. Highway 1 - Pedro Point
b. Highway 1 - Shelter Cove
c. Highway 1 - Grey Whale Cove
Sorry to disappoint anyone expecting to see gray whale's in this video. There were no grey whales swimming around while I was there.
If you're serious about whale watching though. Here is a fun fact. 20,000 Grey Whales migrate through the Pacifica area annually. Starting February and ending in April. Have your binoculars ready and plan for it next year. It's probably too late now, April is about to be over.
I love riding out to Grey Whale Cove. Its next to Devils Bunker, and only 20 minutes from my house. This is an awesome place for a short after work ride. One that I do very often. There are plenty of hikes, and breaks to surf around there.
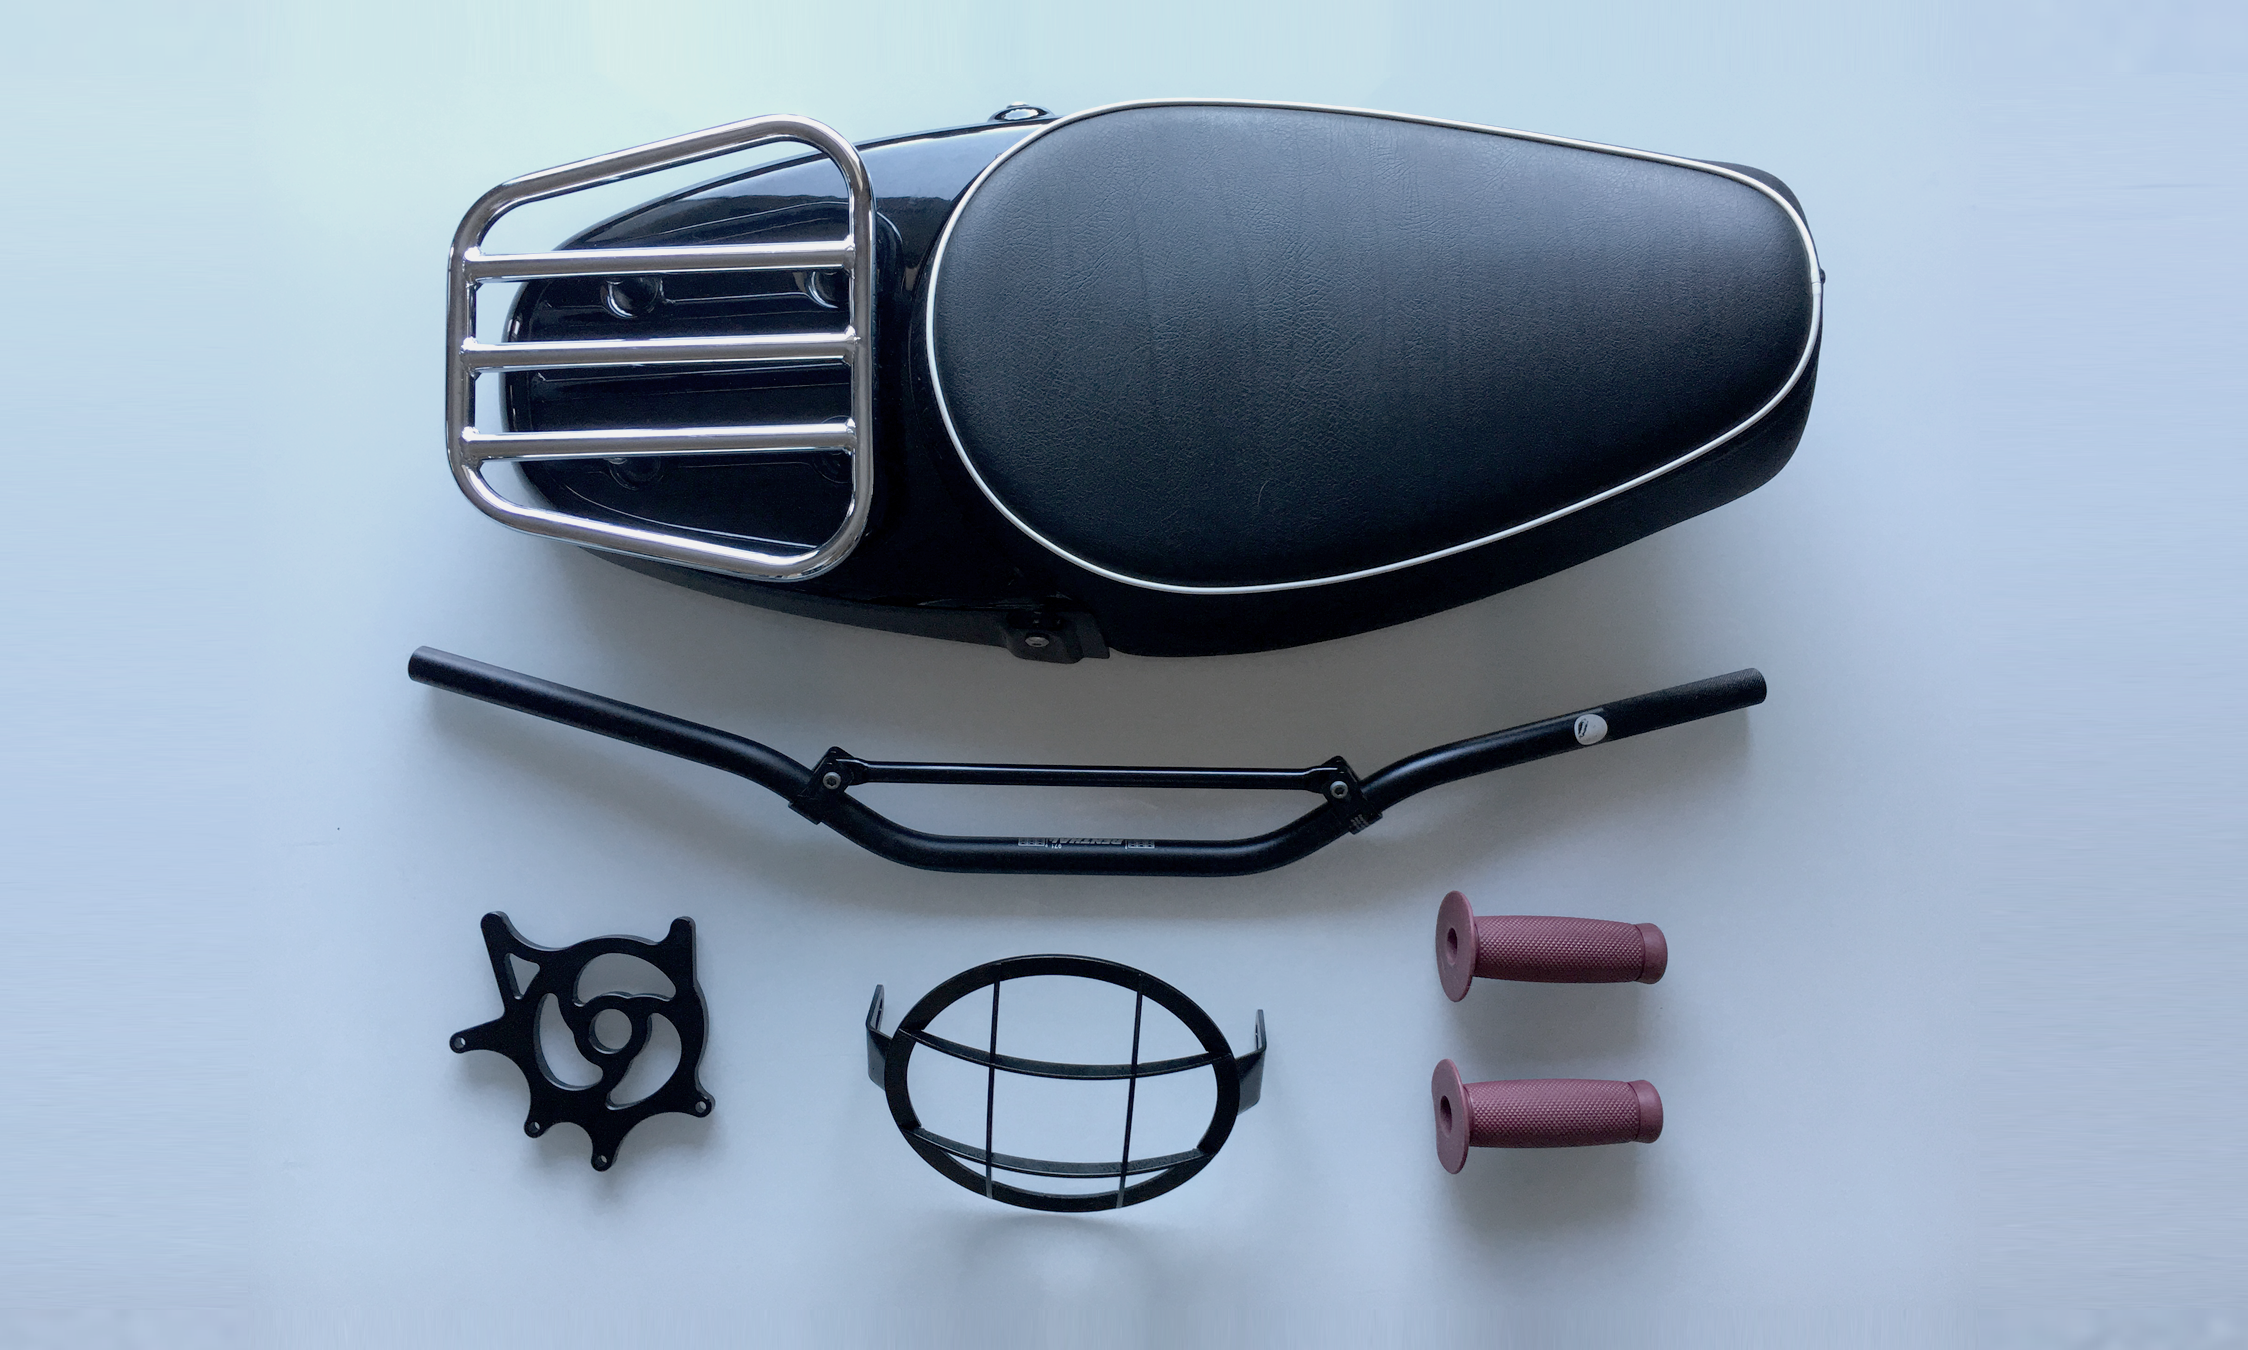
Picked up the Solo-Seat
I finally got a hold of a Triumph Solo Seat, and I can't wait to re-upholster it. I'm going for the pleated Oxblood (burgundy) leather look. Same color as to the Biltwell Recoil grips pictured here.
This seat & bar combination will be way more practical for the road trips I'm planning this Summer. I'll miss the cafe racing look that's on the bike now. But my back and butt will thank me later.
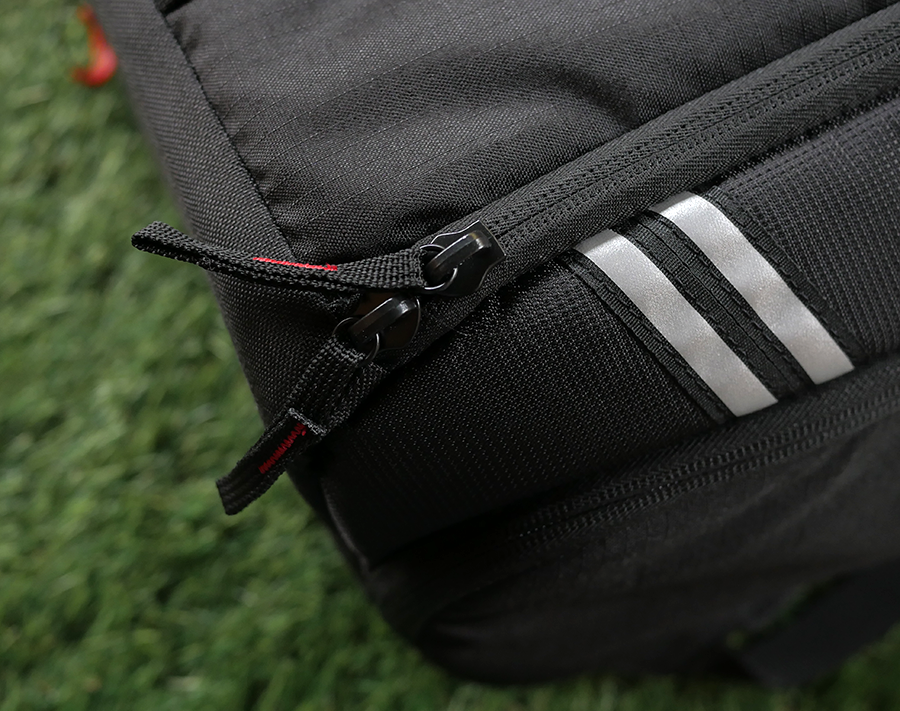
Manfrotto D1 for DJI Phantom
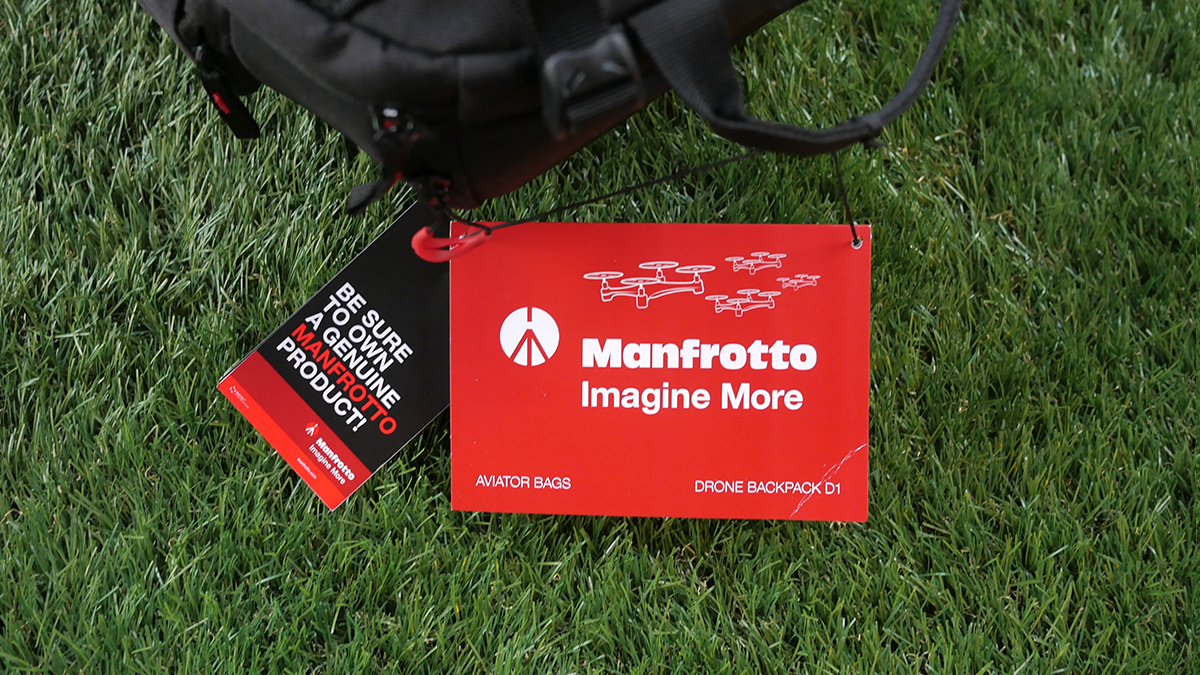
If you're in the market for a drone bag, that is innovative and has plenty of extra room for other gear. Look no further. ( I can go without the red piping though.)

So I just scooped this new bag. Note, it's strictly designed for the Phantom 3 and below. People have said the Phantom 4 does not fit in these. I can be wrong. Anyone want to lend me their 4. I'll test it out. All other drones like, the 3dr Solo will not fit either.
The bag costed 199. I bought mine up from Amazon here, or you can find it on Manfrotto's site here.
The reason why I bought this bag over any of the other bags on the market is:
1. Most importantly. Holds the drone and the Remote.
2. Holds my laptop.
3. Has an upper compartment to hold my camera gear. Lumix G7, 2 Lens, 1 GoPro and some mounts. It holds alot. BUT VERY BIG.

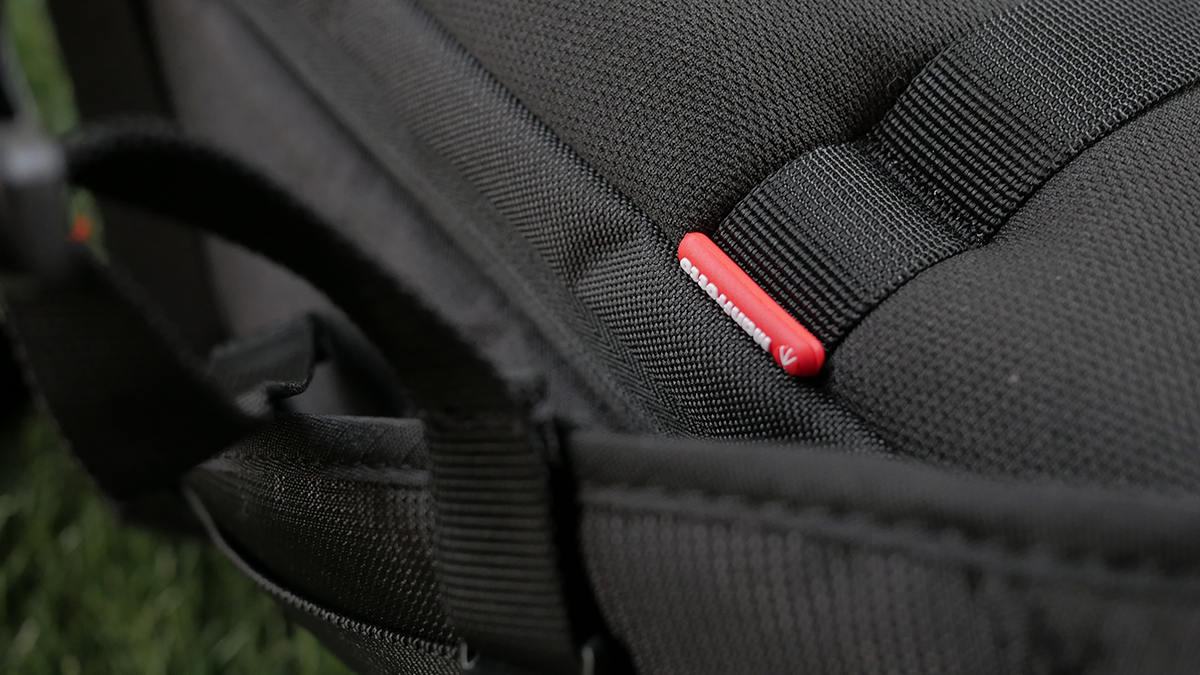


Here is my favorite part about the bag. The access panel in the front has three clips inside, to hold the drone with its propeller assembled.. This is super useful when you're shooting on location moving from one point to another, and don't want to disassemble the drone. Very innovative Manfrotto.

Paralysis by Analysis
The confusion kicks in when we become overwhelmed by all the things we can do, but can’t find the time or the courage to actually commit and follow through. -- Seth Godin
H° Hat GIVEAWAY
Hey All. I appreciate everyone entering the giveaway. Congrats to the two winners. Remember to email me at Hoang@hobo.life with your address. and I'll ship these out ASAP.
SORRY to those who didn't win. I'll do another give away soon. I've also added a store to the site for those who want to support. Enter code #hoboworld for a 5$ discount. CLICK HERE FOR STORE
Parts Slowly Coming In
These Renthal bars and headlight guards came in today. Can't wait for the rest of the upgrades for the Triumph to arrive so I can install everything in one sitting.

Vlog 1.0
I'm going to try Vlogging. I do so much during the week that I think I'll start making short episodes of work, life and adventures. In this video I'm testing out what it feels like to be in front of a camera. To be honest. I commend those who make vlogs. Its challenging. Enjoy.
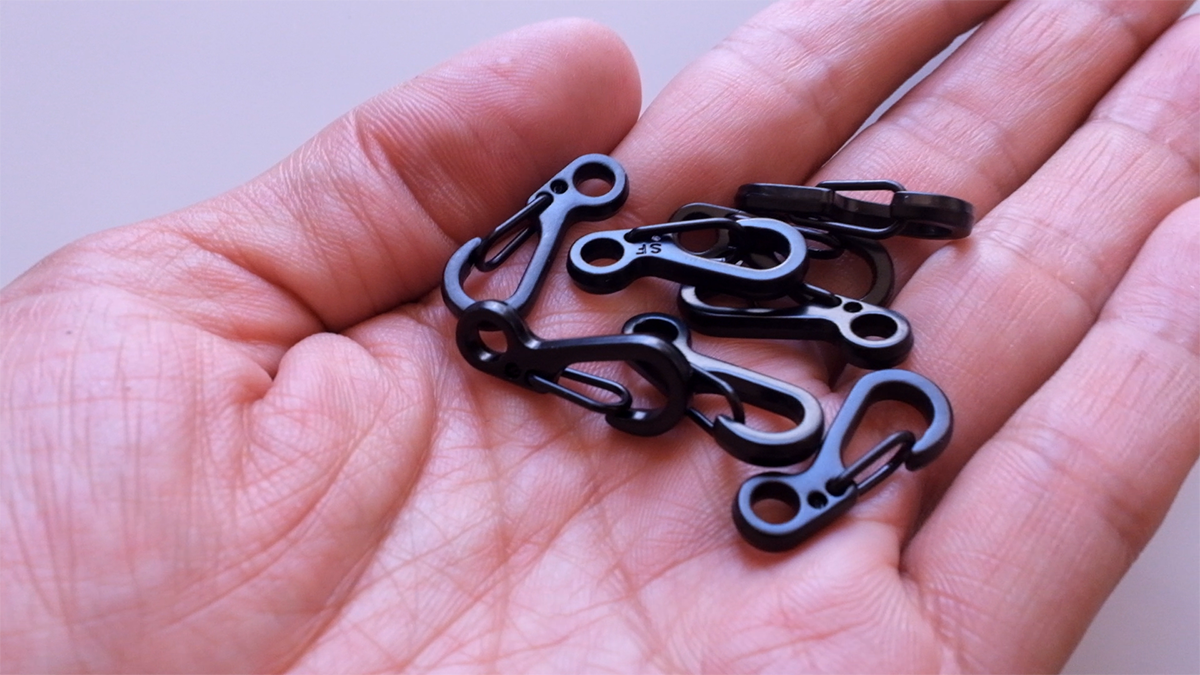
UNDER 20$ DIY CAMERA STRAP

The links are multiple items, not single pieces. I don't think they sell these things separate. You'll definitely have excess parts. So plan to make your best friend one too.
Part List :
1 x DACHMA 1.2 Quick Release
10 ft of Paracord
1 x OP/TECH USA 1301062 Uni-Loop (Note this loop is for larger cameras.There are options for smaller body cameras.)


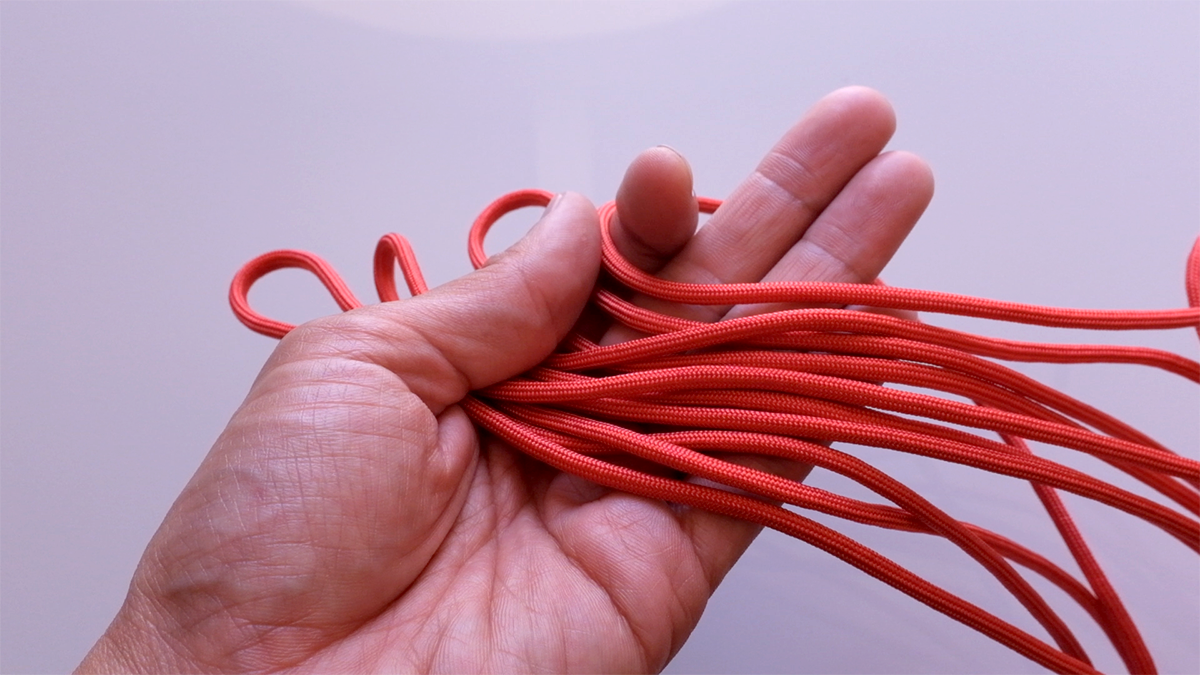
Step One: Cut 10 ft of paracord. Find the center of the cord and fold in half. You should have about 5 ft to work with on each side. Make sure the cord lines up, and evenly distributed. Insert the folded end into the Uni-Loop and tie a larks head knot. Similar to the photo below.

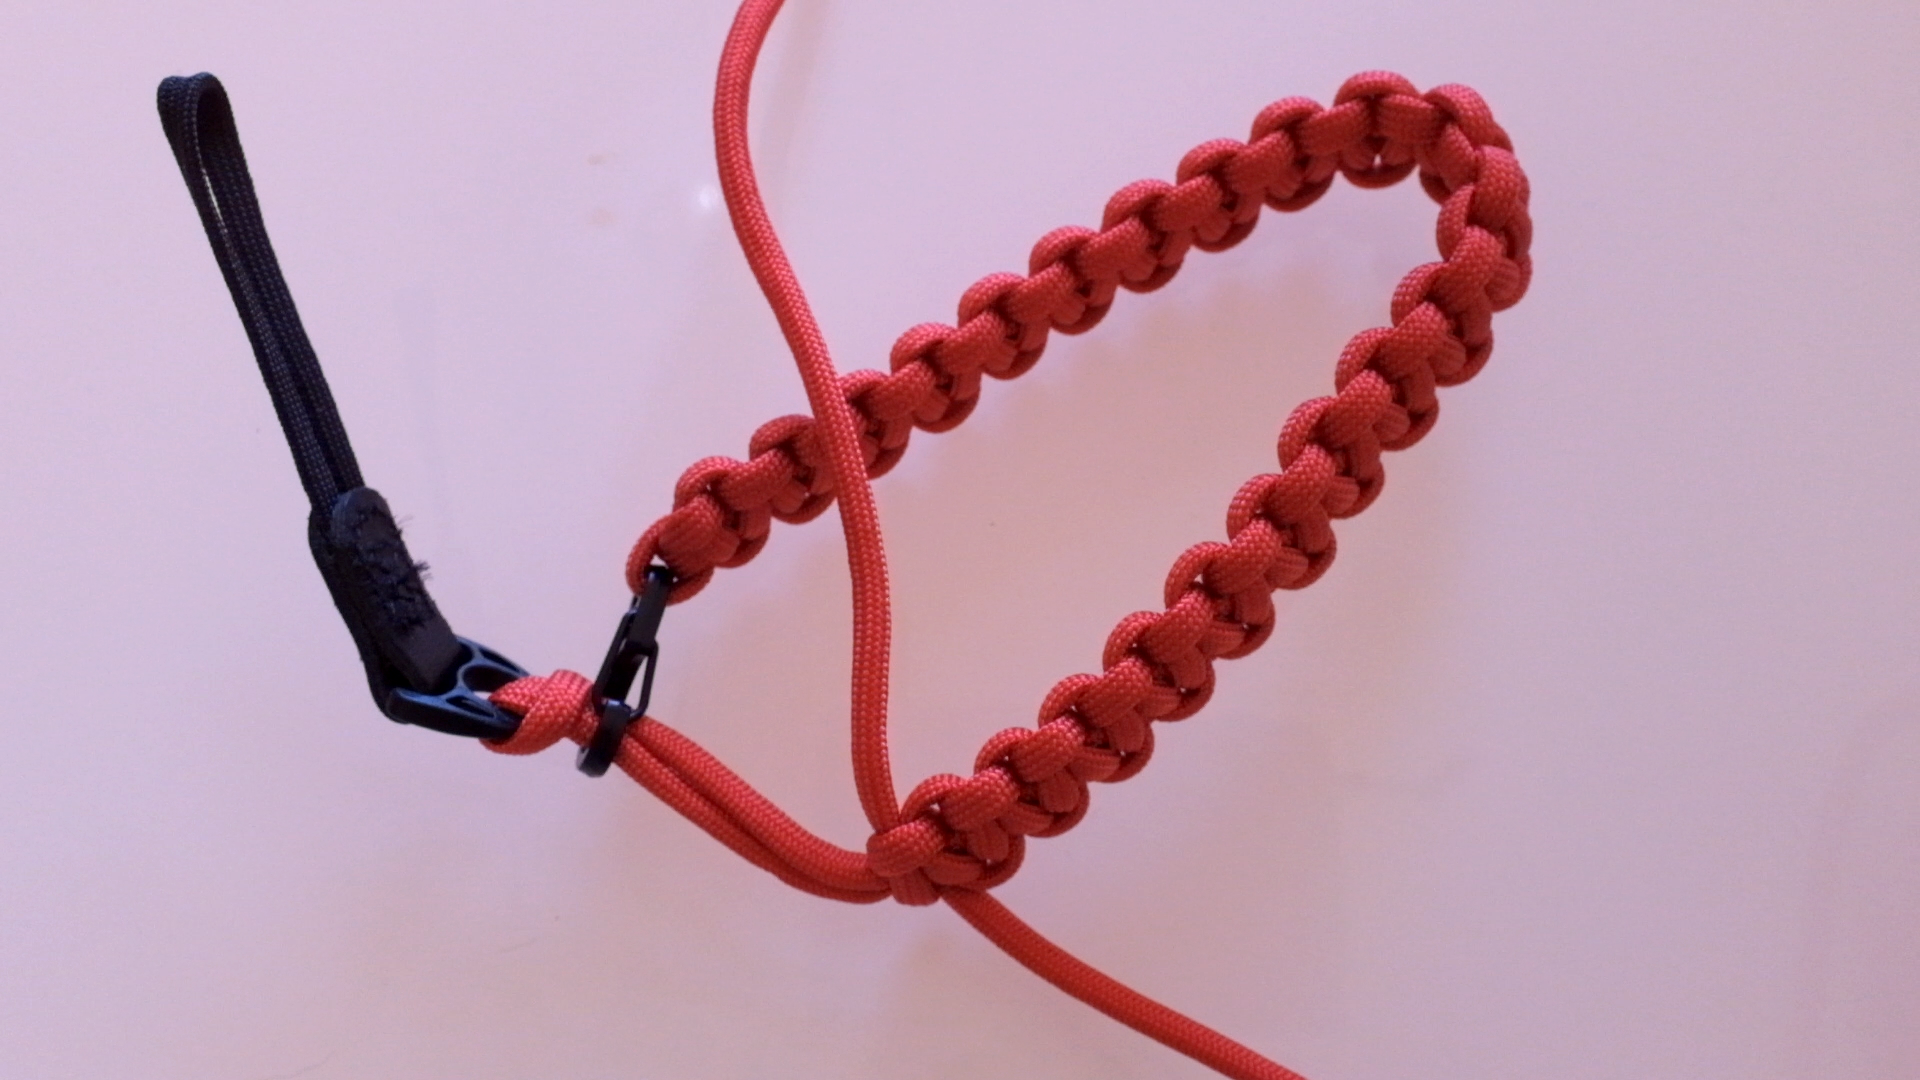
Step Two: Once the uni-loop is secure. Slide your fingers from the larks head knot down 8 inches. Mark this spot. Insert quick release clip to the marked spot, and tie a simple knot. See photo below for

Step Three: Now start cobra braiding until you're happy with the length. For mine I braided nearly the whole length, and left about 1.5 inch. Peep the gif below for how to cobra braid. Remember to alternate sides so you don't end up with weird lumps like i did. Once you're happy. Clip the quick release to finish the loop. Trim the extra cord and burn the ends. THATS IT!


FKJ - Better Give You Up

Inexpensive 4k Video Cam
I'm no professional photographer, but I enjoy taking photos leisurely. I'm more of a video guy. Specifically, I like shooting process videos of the things Anh and I do with Creative Session. So when Panasonic announced the G7, It was the perfect budget 4k video camera for me. I was gushing over the full frame Sony a7s II but couldn't justify dropping 3k for the body. Yet alone investing in new lenses. I love the G7 price point. It's affordable, lightweight, and perfect for the type of work I'll do. Highly recommend. I'll post sample footage soon.
Below is the G7 straight out the box. To the right is the blacked out version. Just the way I like it. If you're wondering I used black architectural tape to mask all the white labels.


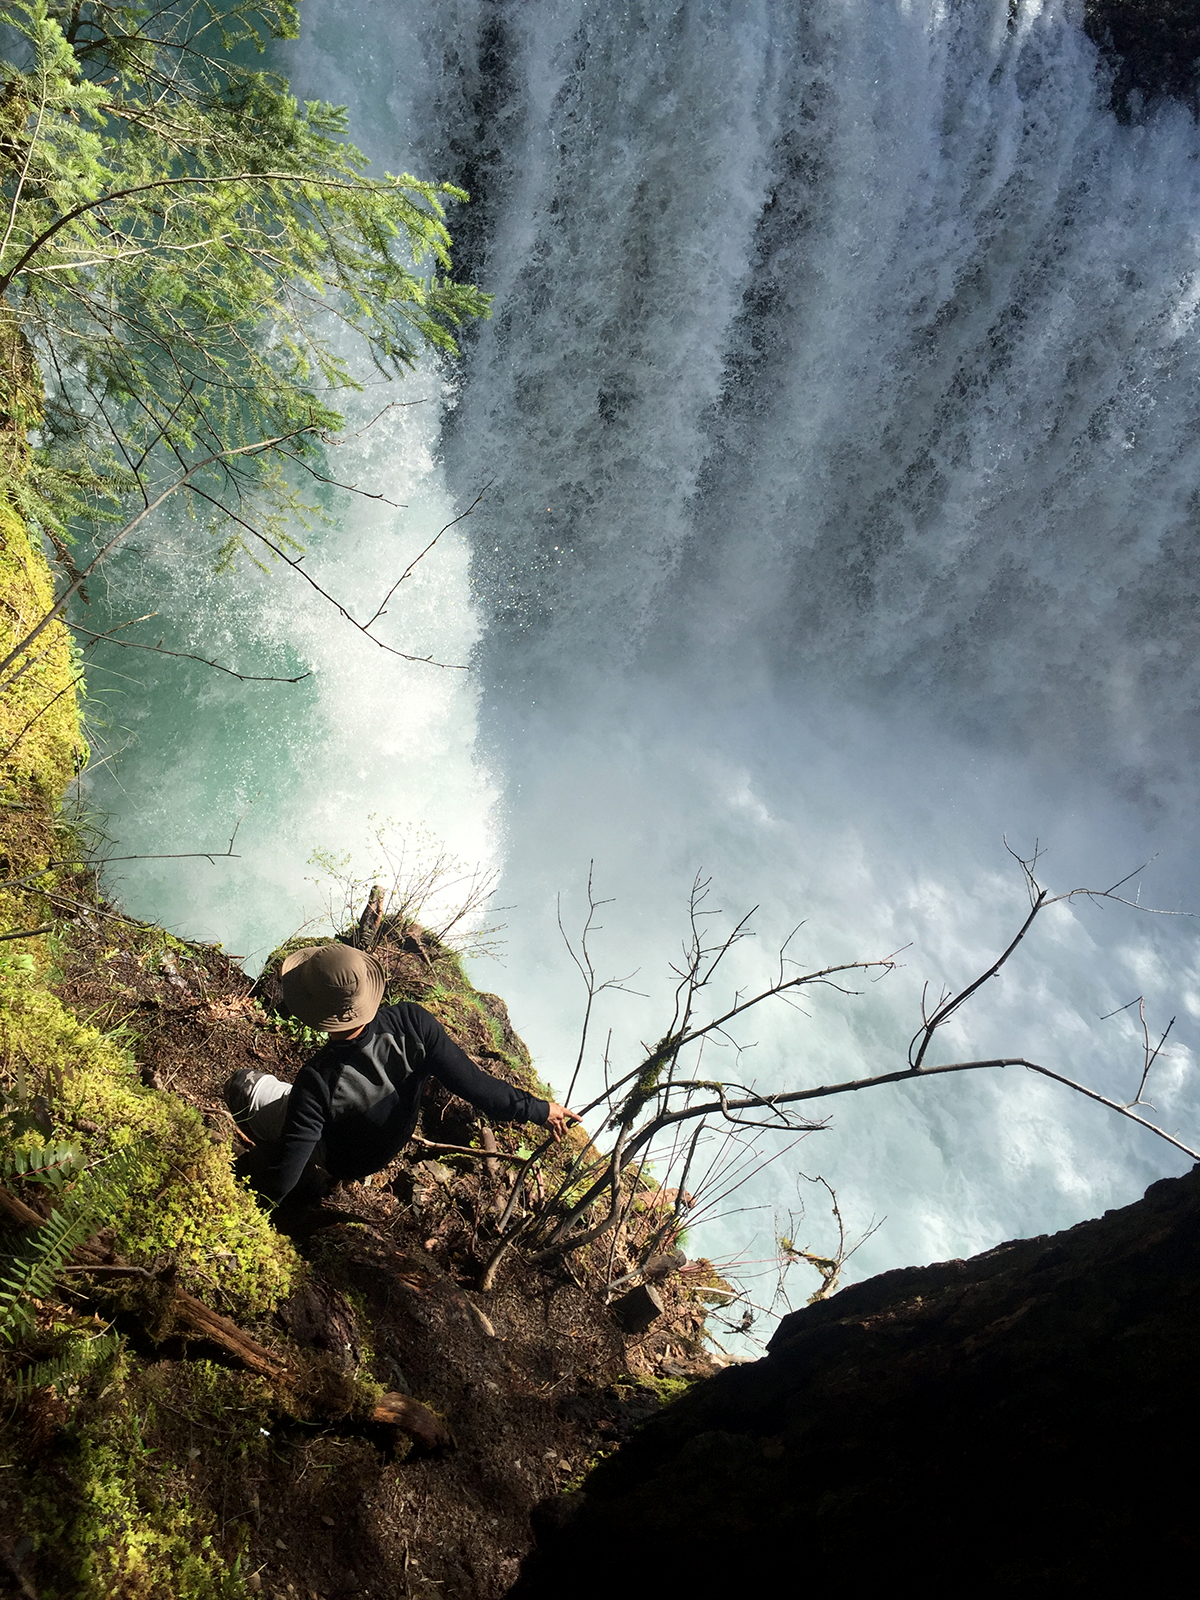
42.6689° N, 72.2050° W | SPIRIT FALLS
Trip Itinerary :
a. Highway 84 E - Bridge of Gods
b. Columbia Gorge WA - Spirit Falls
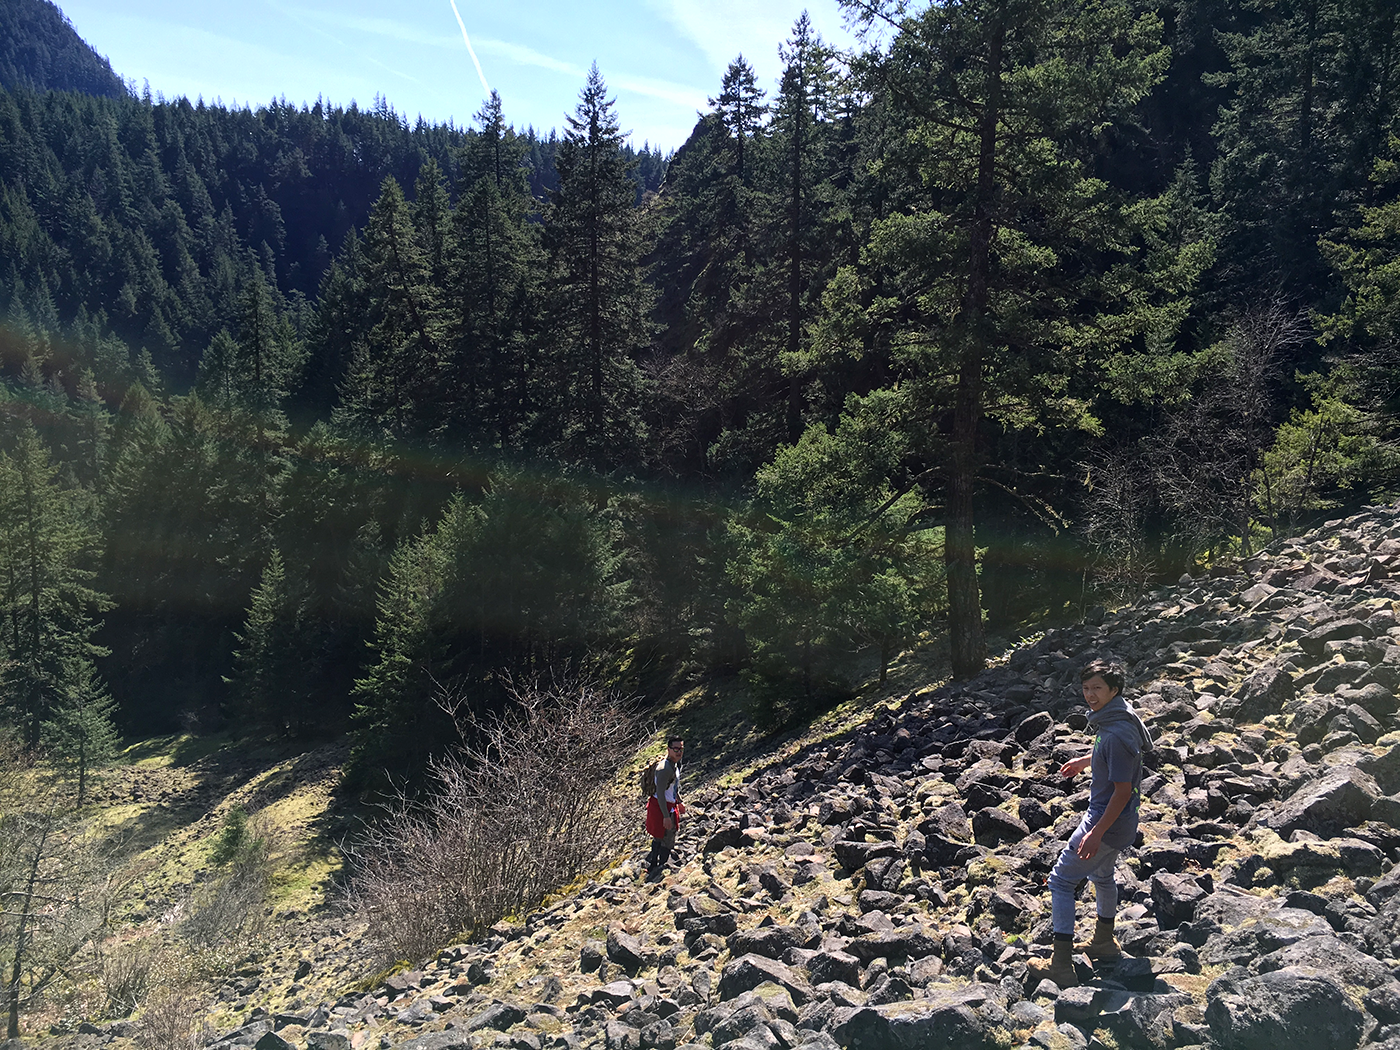
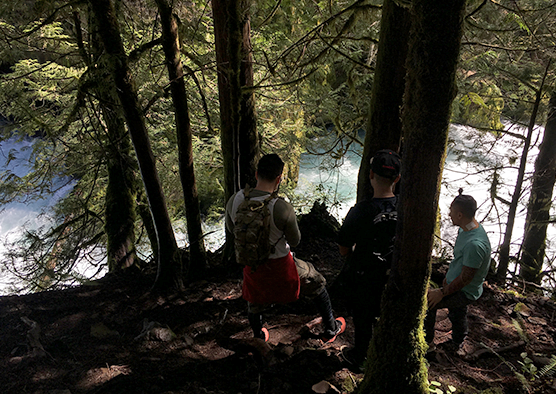
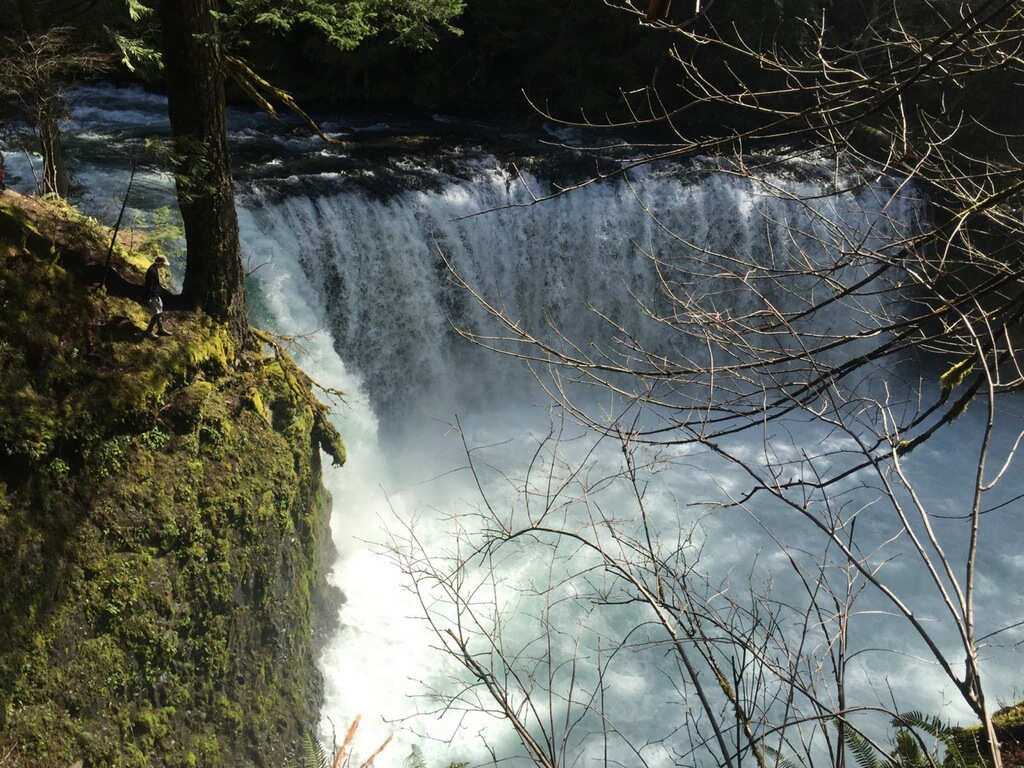
While back in Oregon for my pop's birthday weekend I was hoping it was still cold enough to see a bit of snow, some icicles or at least some dew covered plants at Spirit Falls.
Being an Oregon native I've seen most of the state during the Spring and Summer seasons. I've always been a chicken when it comes to cold weather, so I hibernated in the winter playing games. It's not until recently that I became fascinated with the idea of seeing parts of Oregon at the peak of winter. I was inspired when a buddy showed me a photo of Crater Lake frozen, covered in white powder and the water a beautiful turquoise hue. So this year I made a list of places I'd like to see, and Spirit Fall's was one of them. Unfortunately we're at the cusp of spring so excuse the lack of snow photos.
The hike is a short climb down. About 15-20 minutes of scaling a steep and rocky mountain side, and then a 10 minute hike in depending on your pace. Every so often a "Private Property, No Trespassing" sign is posted stating you will be prosecuted in neon green. After seeing a few of those and some abandoned washing machines covered in bullet holes. A few of us became discouraged, and frankly scared. Don't judge me. Because the trail was unmarked it took longer to find, often we felt lost. Uncertain if we're headed the right way. A good north star is to follow the creek, or the acoustics from the thundering falls as you get closer. Trust me its worth the scare and the climb.


Cabu & Akacia - Gold

HOT OFF THE PRESS
This is exciting. I purposely made red hats to do some giveaways. The only request is that you take a photo of the hat wherever you travel to. Tag #hoboworld & #gohobo


ONE YEAR MARK

Today I celebrate HoBo's one year anniversary. Its crazy how time flies. I'm happy to report back, I've blogged a shit ton this year. Unfortunately I haven't done any long motorcycle trips yet. Spring is around the corner though, and I have a few moto camping trips planned. I've saved up and bought proper equipment over the winter. Can't wait for the weather to warm up a bit.
SURFING AT THE JETTY
37.4589° N, 122.4369° W Feels like summer in the Bay lately so Andy and I took the boards out for a spin. This spot is next to the Halfmoon Bay Jetty.
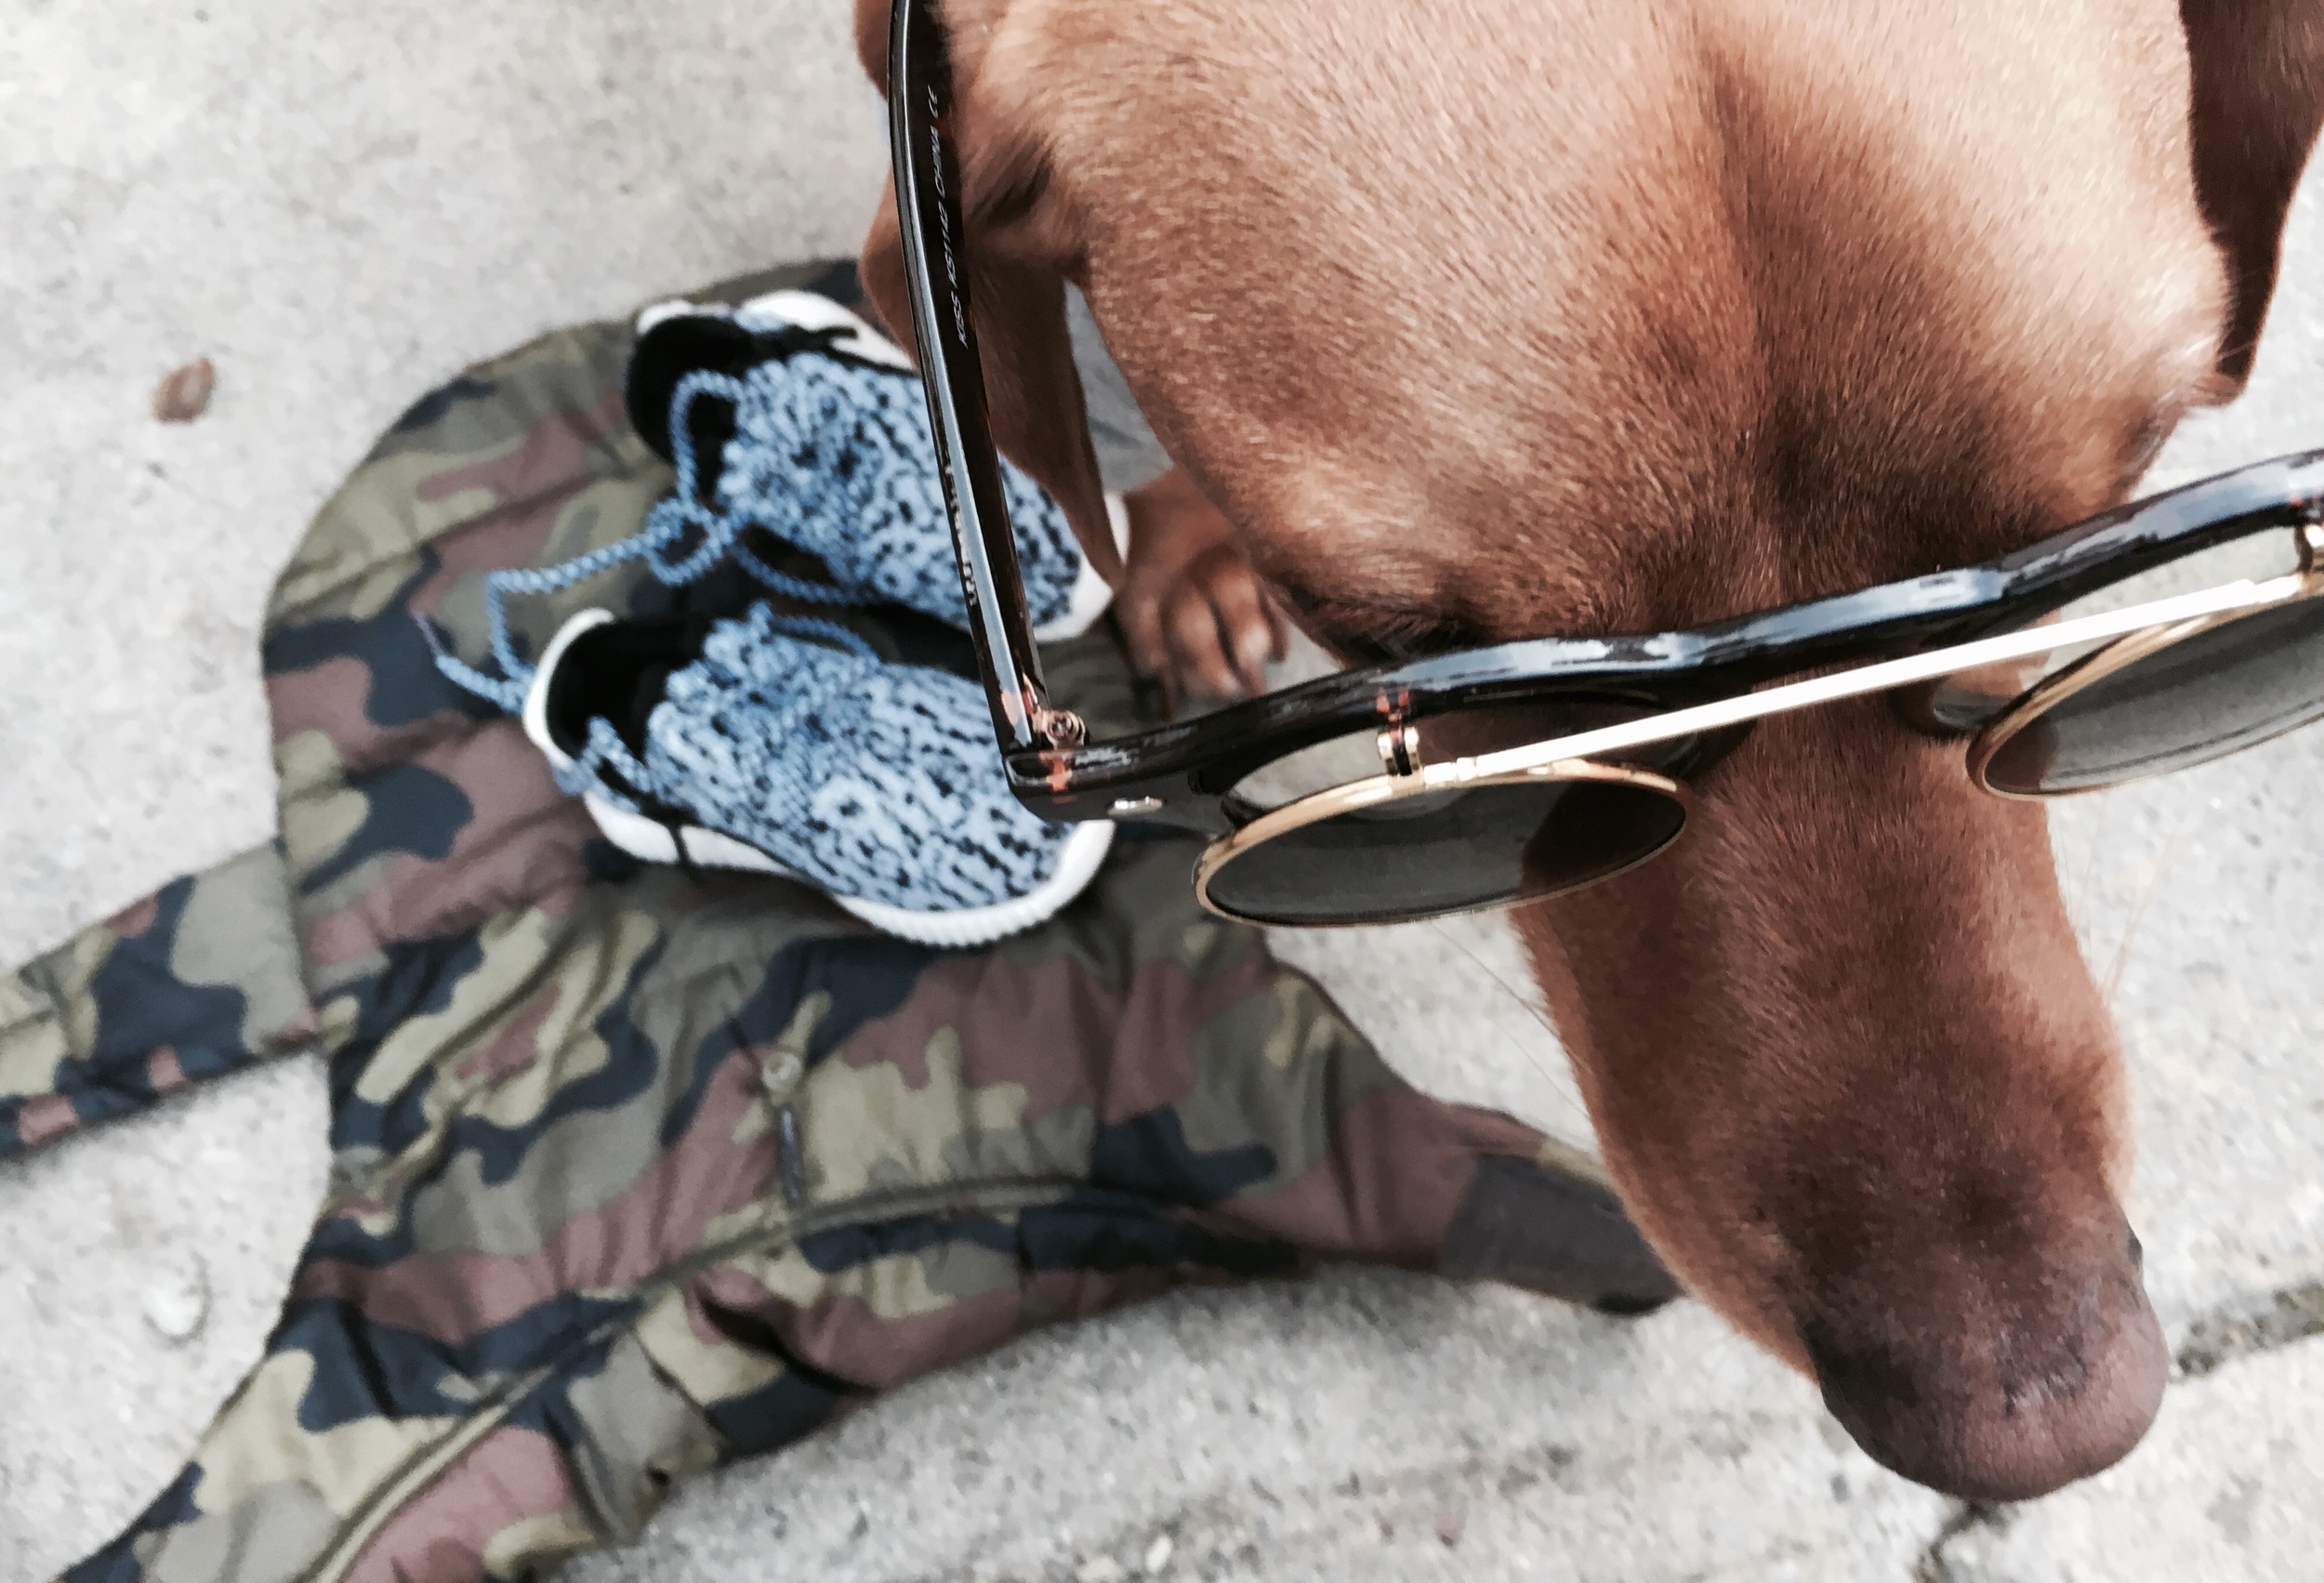
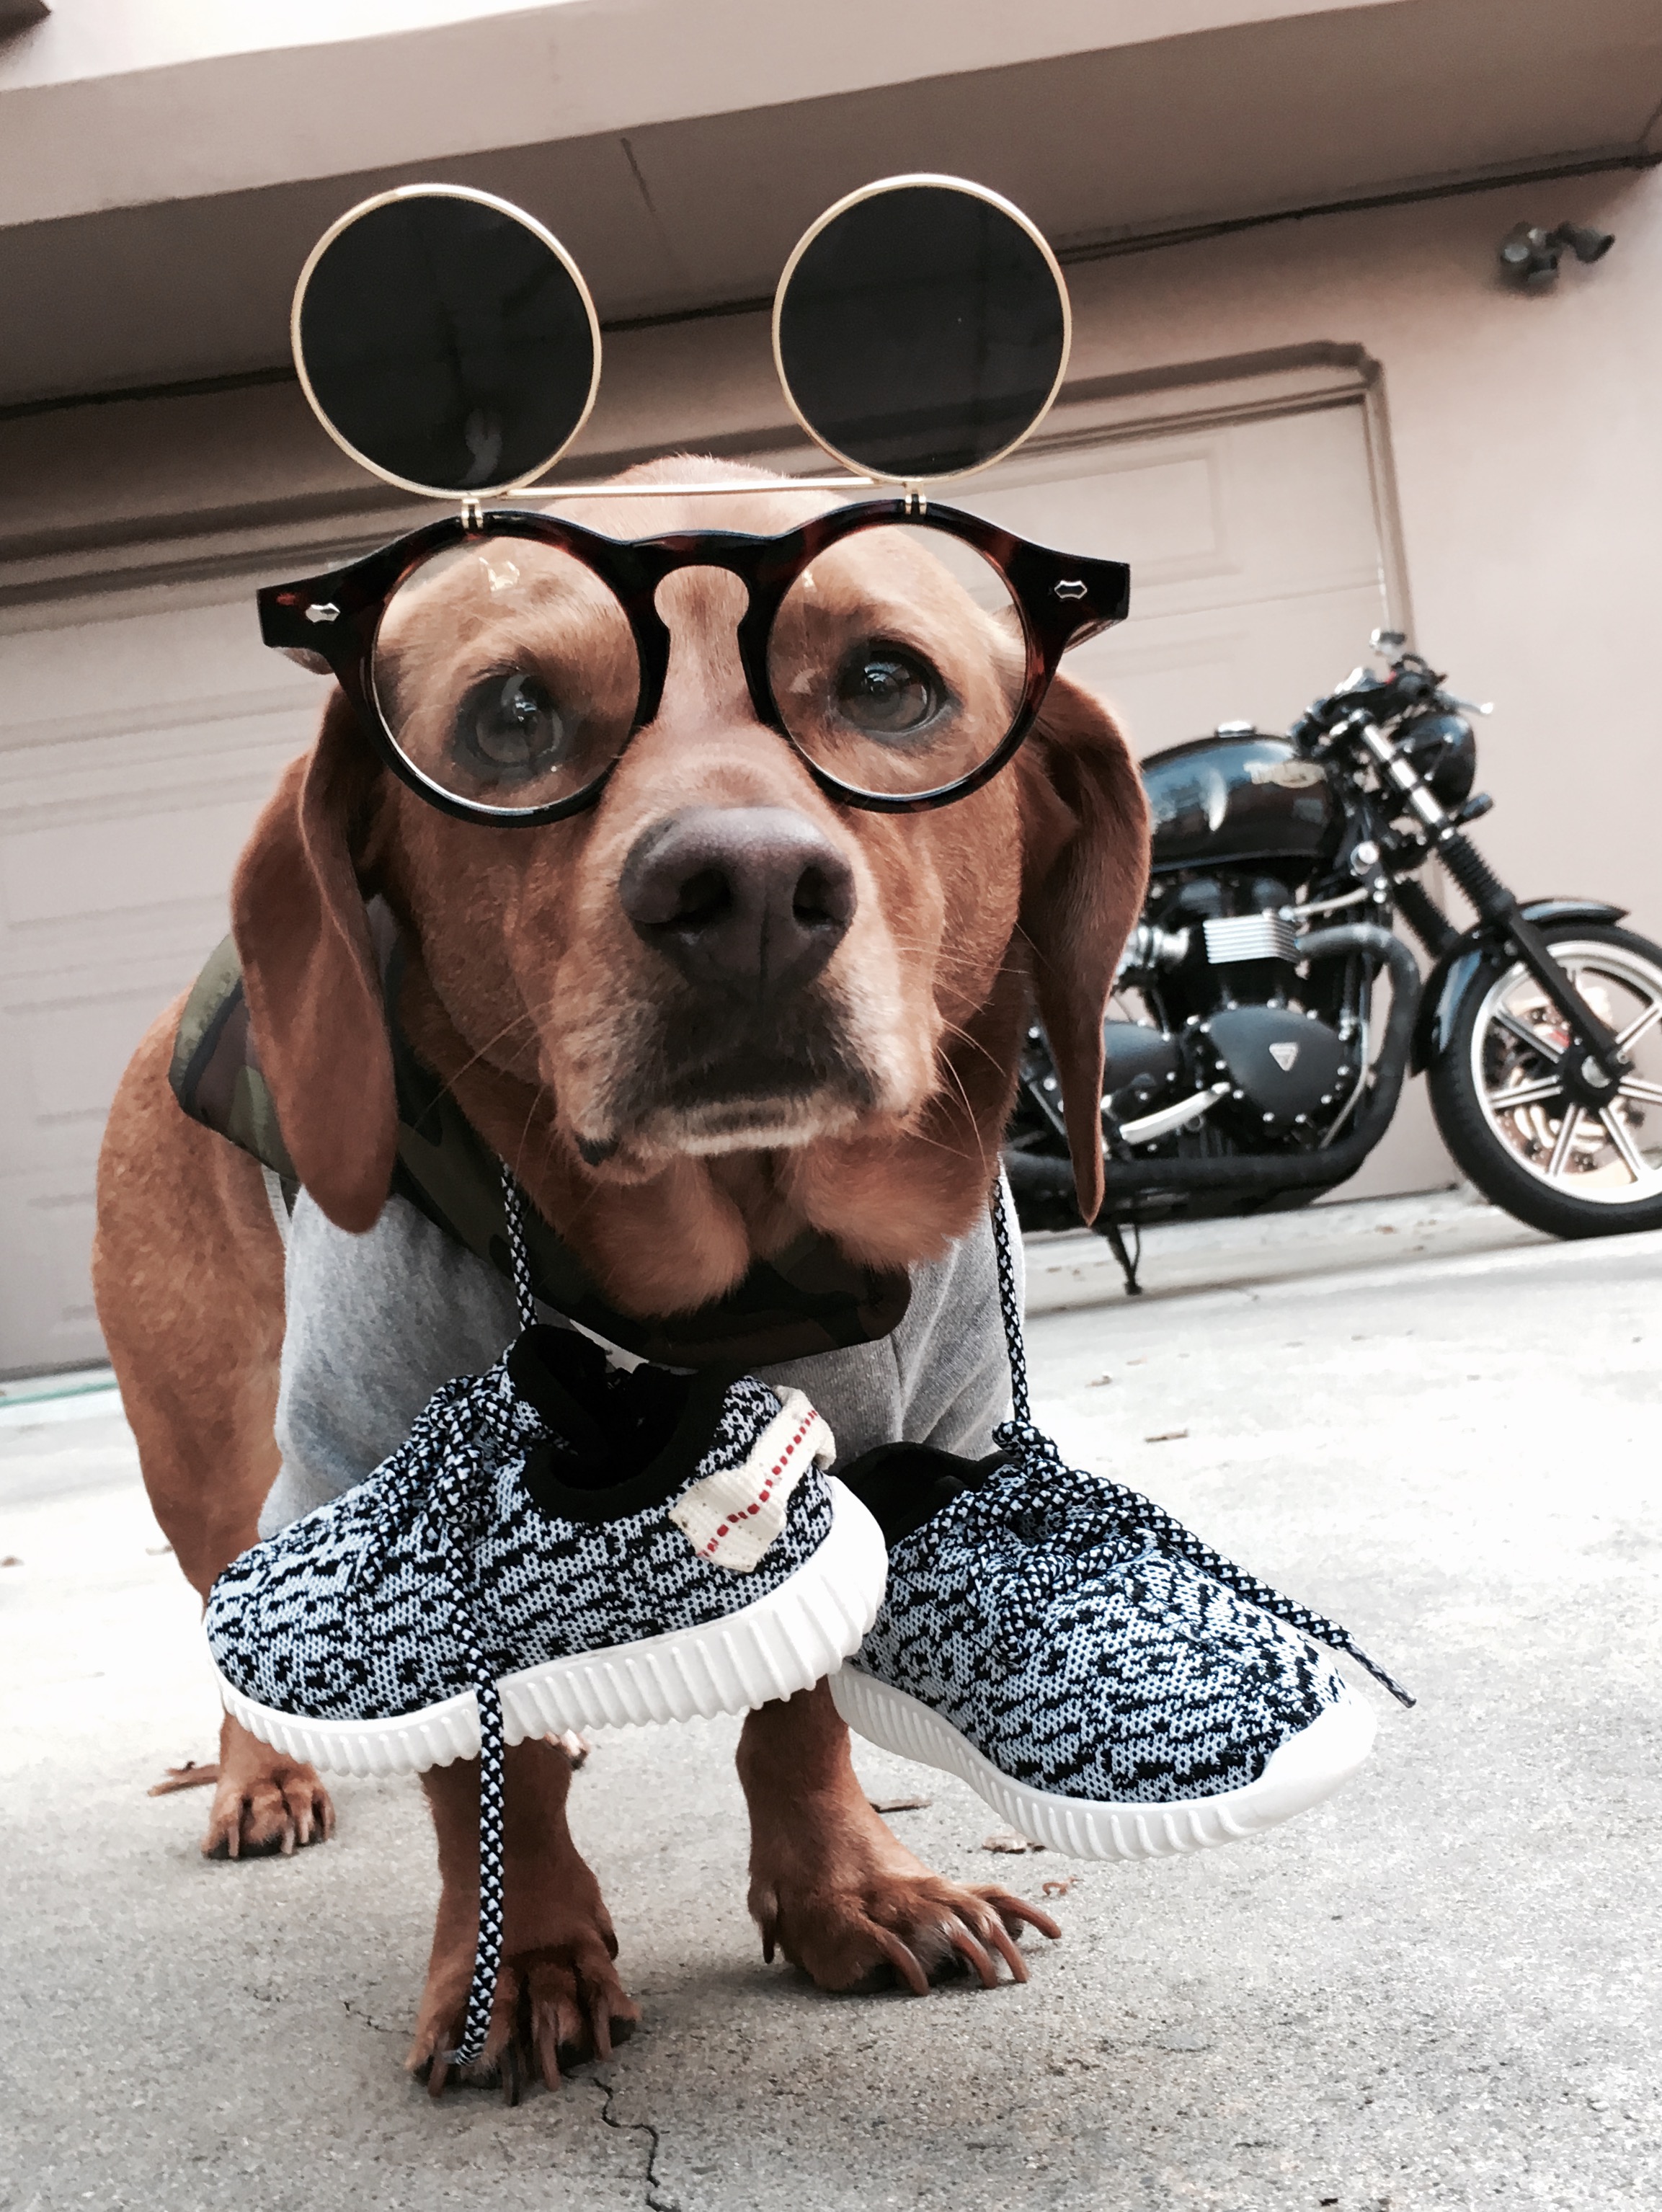
NEW GOGGLE ALERT

BREAKBREAD LA
Here's a time-lapse the drive down to LAX for the homie Keith Magruder's show. 'Break Bread"